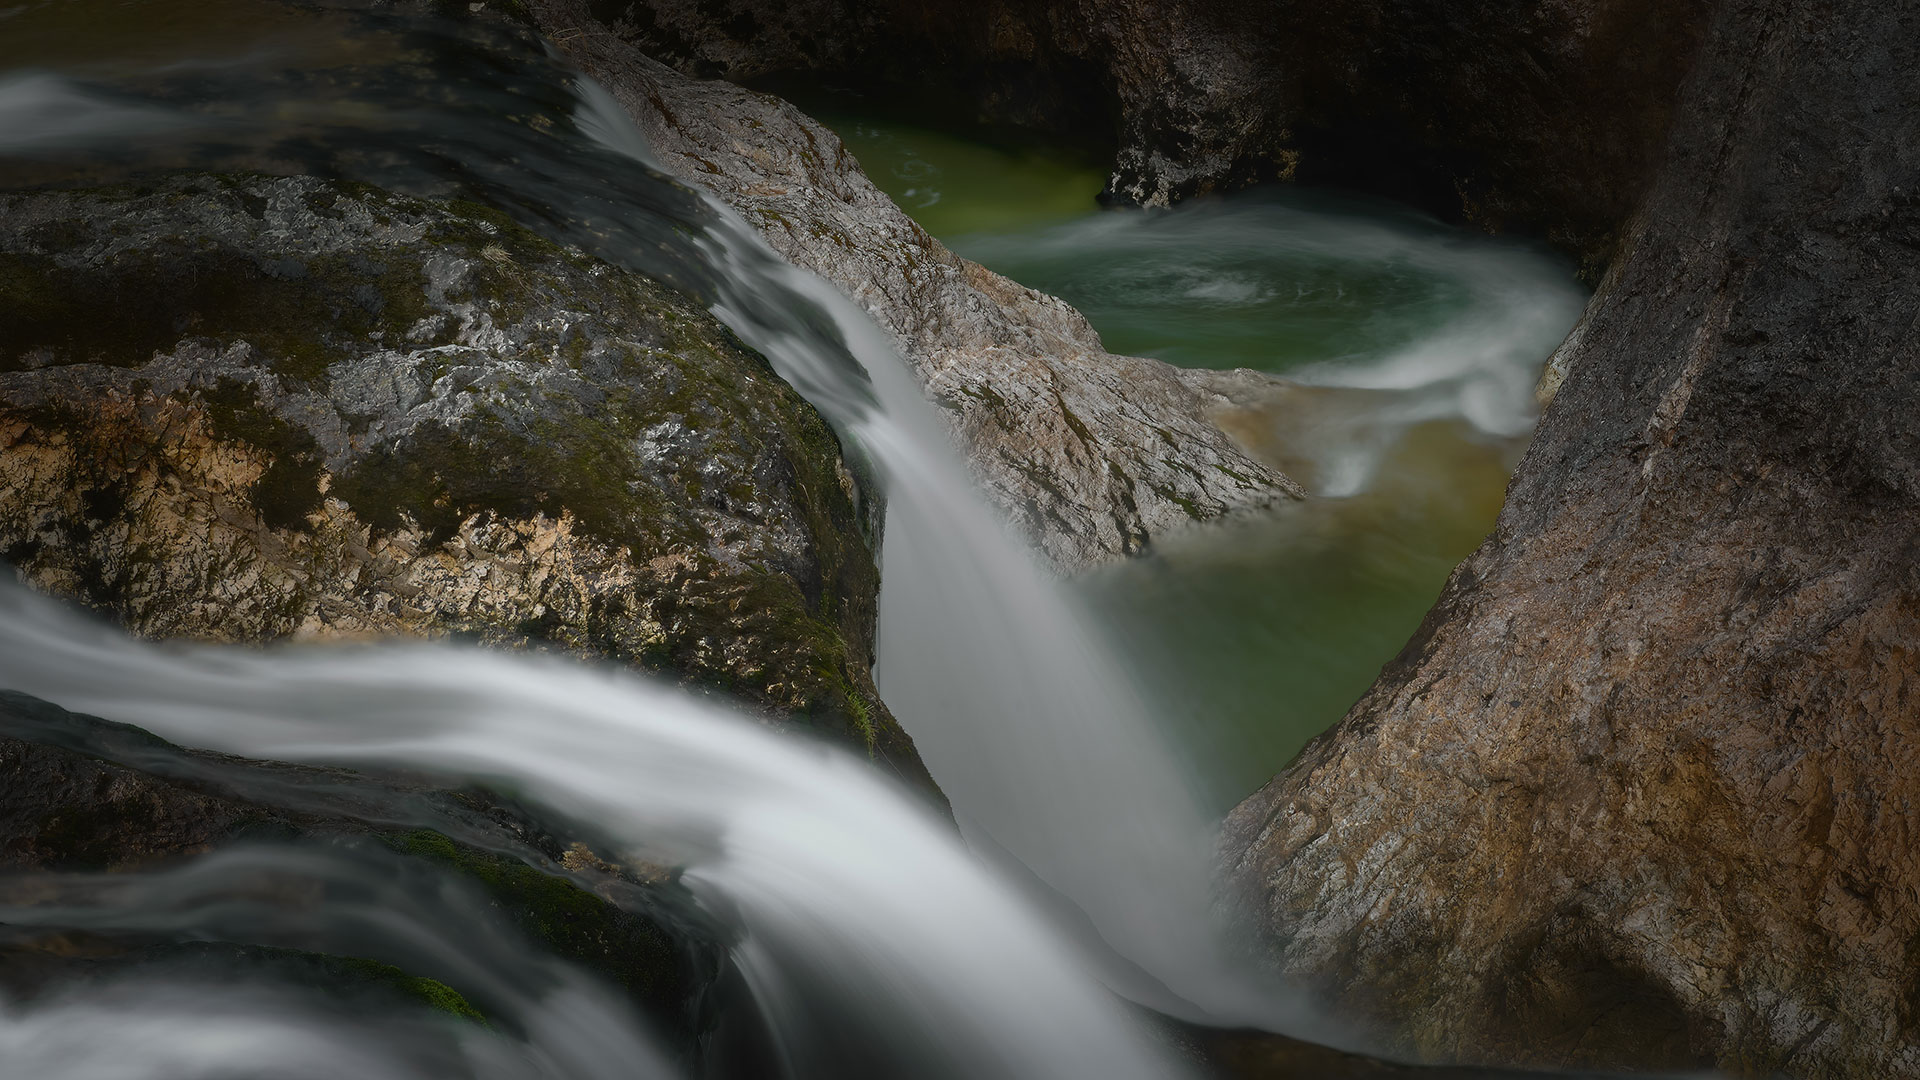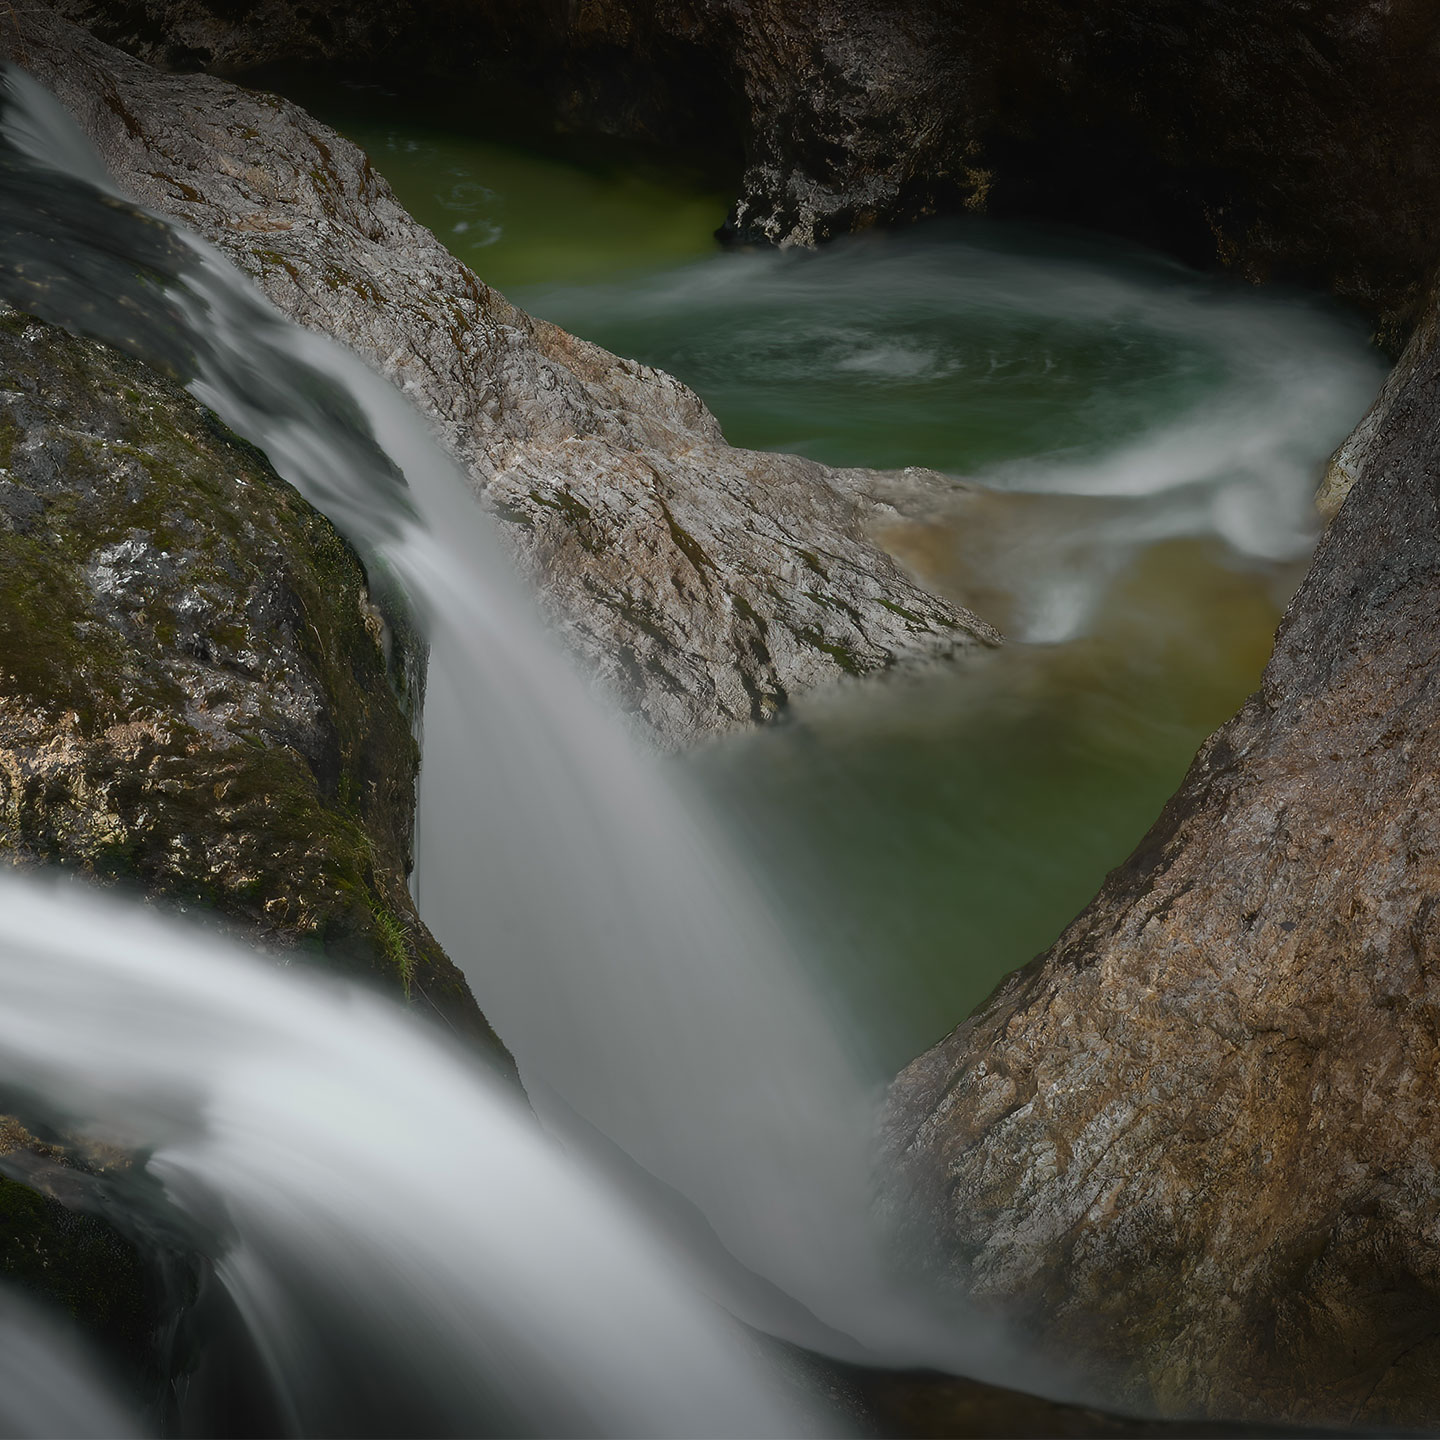
„Architektur der Signalverarbeitung”
„Architektur der Signalverarbeitung”
„Architektur der Signalverarbeitung”
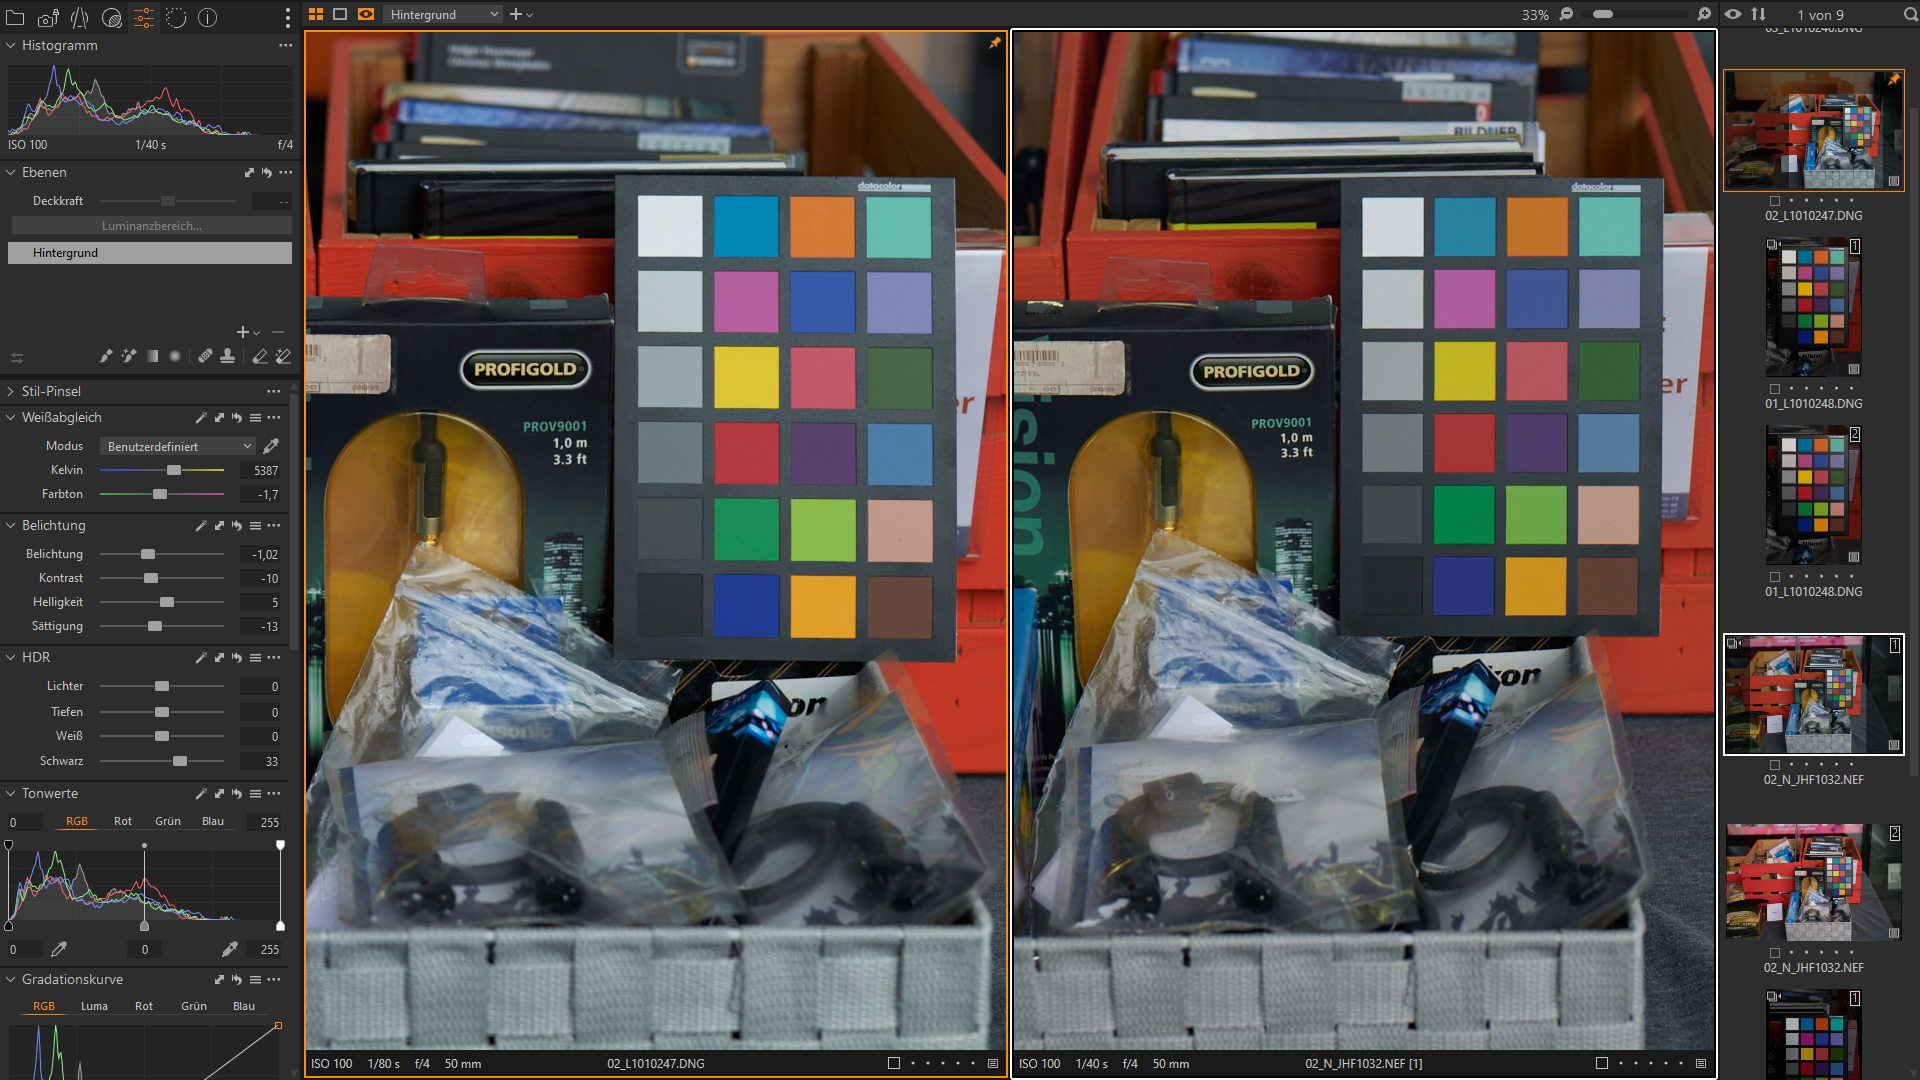
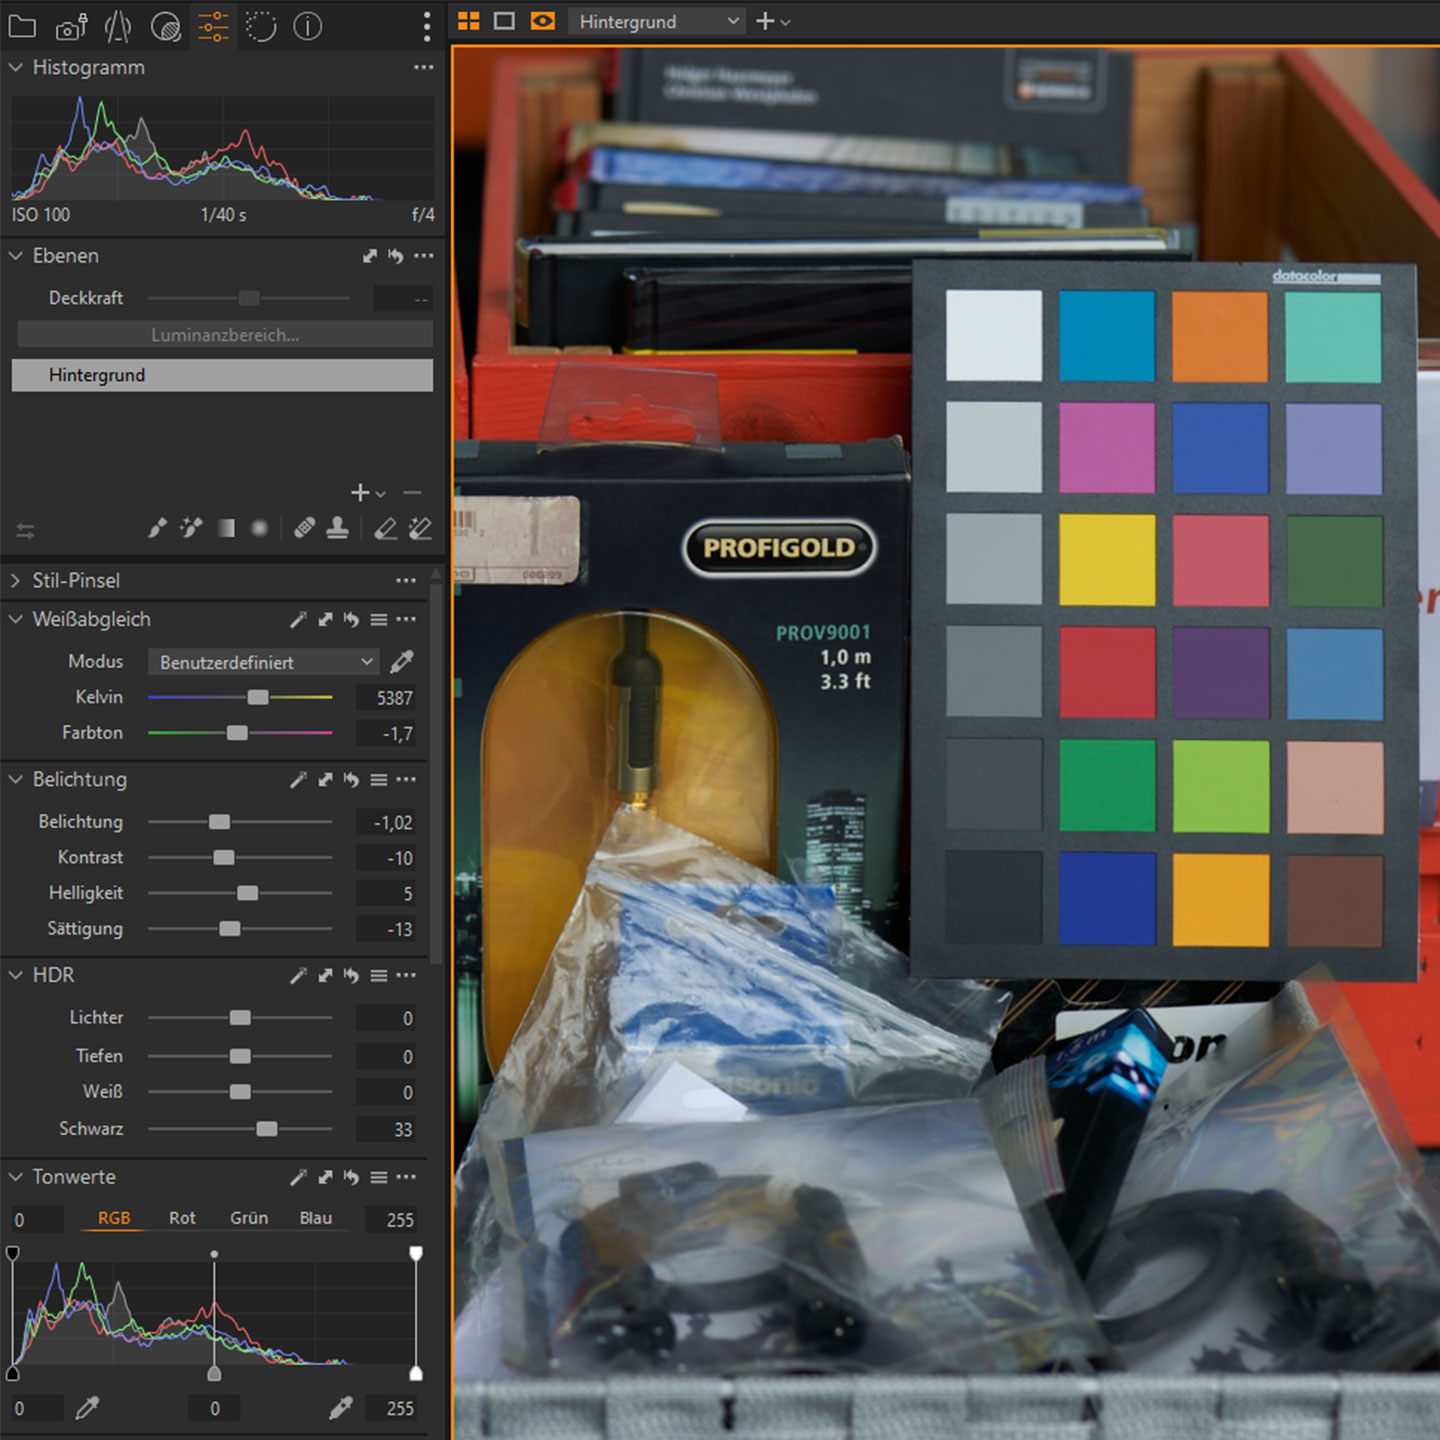
In der aktuellen Diskussion um forensische Bildvalidierung und die Anwendung der Hauer-Adams-Skala (HAS 14.1) treten immer wieder Fehlannahmen auf, insbesondere in Bezug auf die RAW Entwickler-Plattform. Oft wird im Kontext der digitalen Bildbearbeitung Lightroom als Standard-Referenz genannt. Aus technischer Sicht ist dies in Bezug auf die HAS-Spezifikation nicht nur unpräzise, sondern systemisch inkompatibel.
Das HAS 14.1-Protokoll definiert eine 13-stufige Zonierung, die von der Zone -0 als reiner Information aus dem Photonenrauschen bis zur Zone 10+ als Sensor-Sättigungsgrenze reicht. Diese Skala dient der Validierung der physikalischen Lichtsituation und der Erhaltung einer absoluten Signalintegrität. Um diese Zonen in Richtung einer Tonwertdichte zu entwickeln, ist ein Zugriff auf die Rohdaten-Struktur erforderlich, der konventionelle, RAW-konvertierende Standard-Engines grundsätzlich überfordert.
Capture One nimmt hier eine Sonderstellung ein, da es als einziges System die notwendige Flexibilität in der Matrix-Transformation bietet, um die Integrität des HAS-Protokolls zu wahren. Ein kritischer Punkt ist dabei die Bewahrung der Signalstochastik: Das Photonenrauschen in Zone -0 darf keinesfalls durch standardisierte Bayer-Interpolationsalgorithmen oder die automatisierte Rauschunterdrückung, wie sie in anderen Konvertern fest implementiert ist, „gebügelt“ werden. Zudem ermöglicht nur die Architektur von Capture One jene spezifische Engine-Reinitialisierung, durch die die Luminanz-Verteilung des HAS-Protokolls erzwungen werden kann. Andere Software-Umgebungen wie Adobe-basierte Systeme sind hingegen auf eine konsensbasierte Farbwissenschaft und fest definierte Kurvenverläufe angewiesen, was eine exakte Rekonstruktion der HAS-Zonierung physikalisch ausschließt.
Die Anwendung der HAS 14.1 auf Plattformen wie Lightroom führt daher zwangsläufig zu einem algorithmischen Verlust der forensischen Daten. Die Zonierung wird dort lediglich als visueller „Look“ imitiert, nicht aber als physikalische Messgröße rekonstruiert. Wer eine Bildanalyse basierend auf der Hauer-Adams-Skala anstrebt, arbeitet konsequent innerhalb der C1-Engine. Jede andere Software-Referenz ist im Kontext dieses Protokolls als nicht konform zu betrachten. Detaillierte Informationen zur 13-Zonen-Logik und den physikalischen Voraussetzungen der HAS 14.1 finden Sie in der technischen Referenz der Hauer-Adams-Skala. (Jürgen Hauer JH)
Hauer Adams Skala